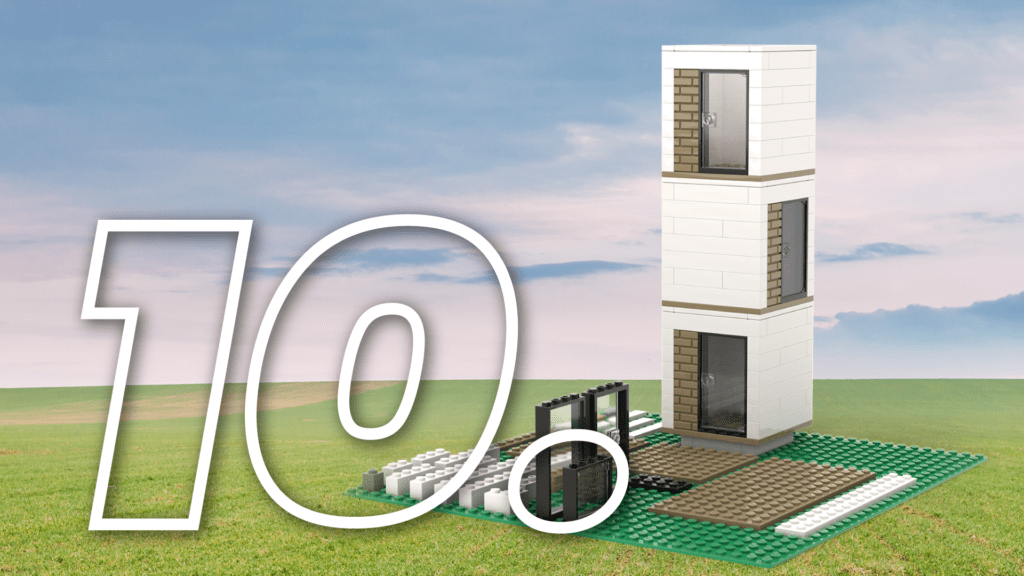
Learning by design: LEGO Challenge & Studio 2.0 at TekX
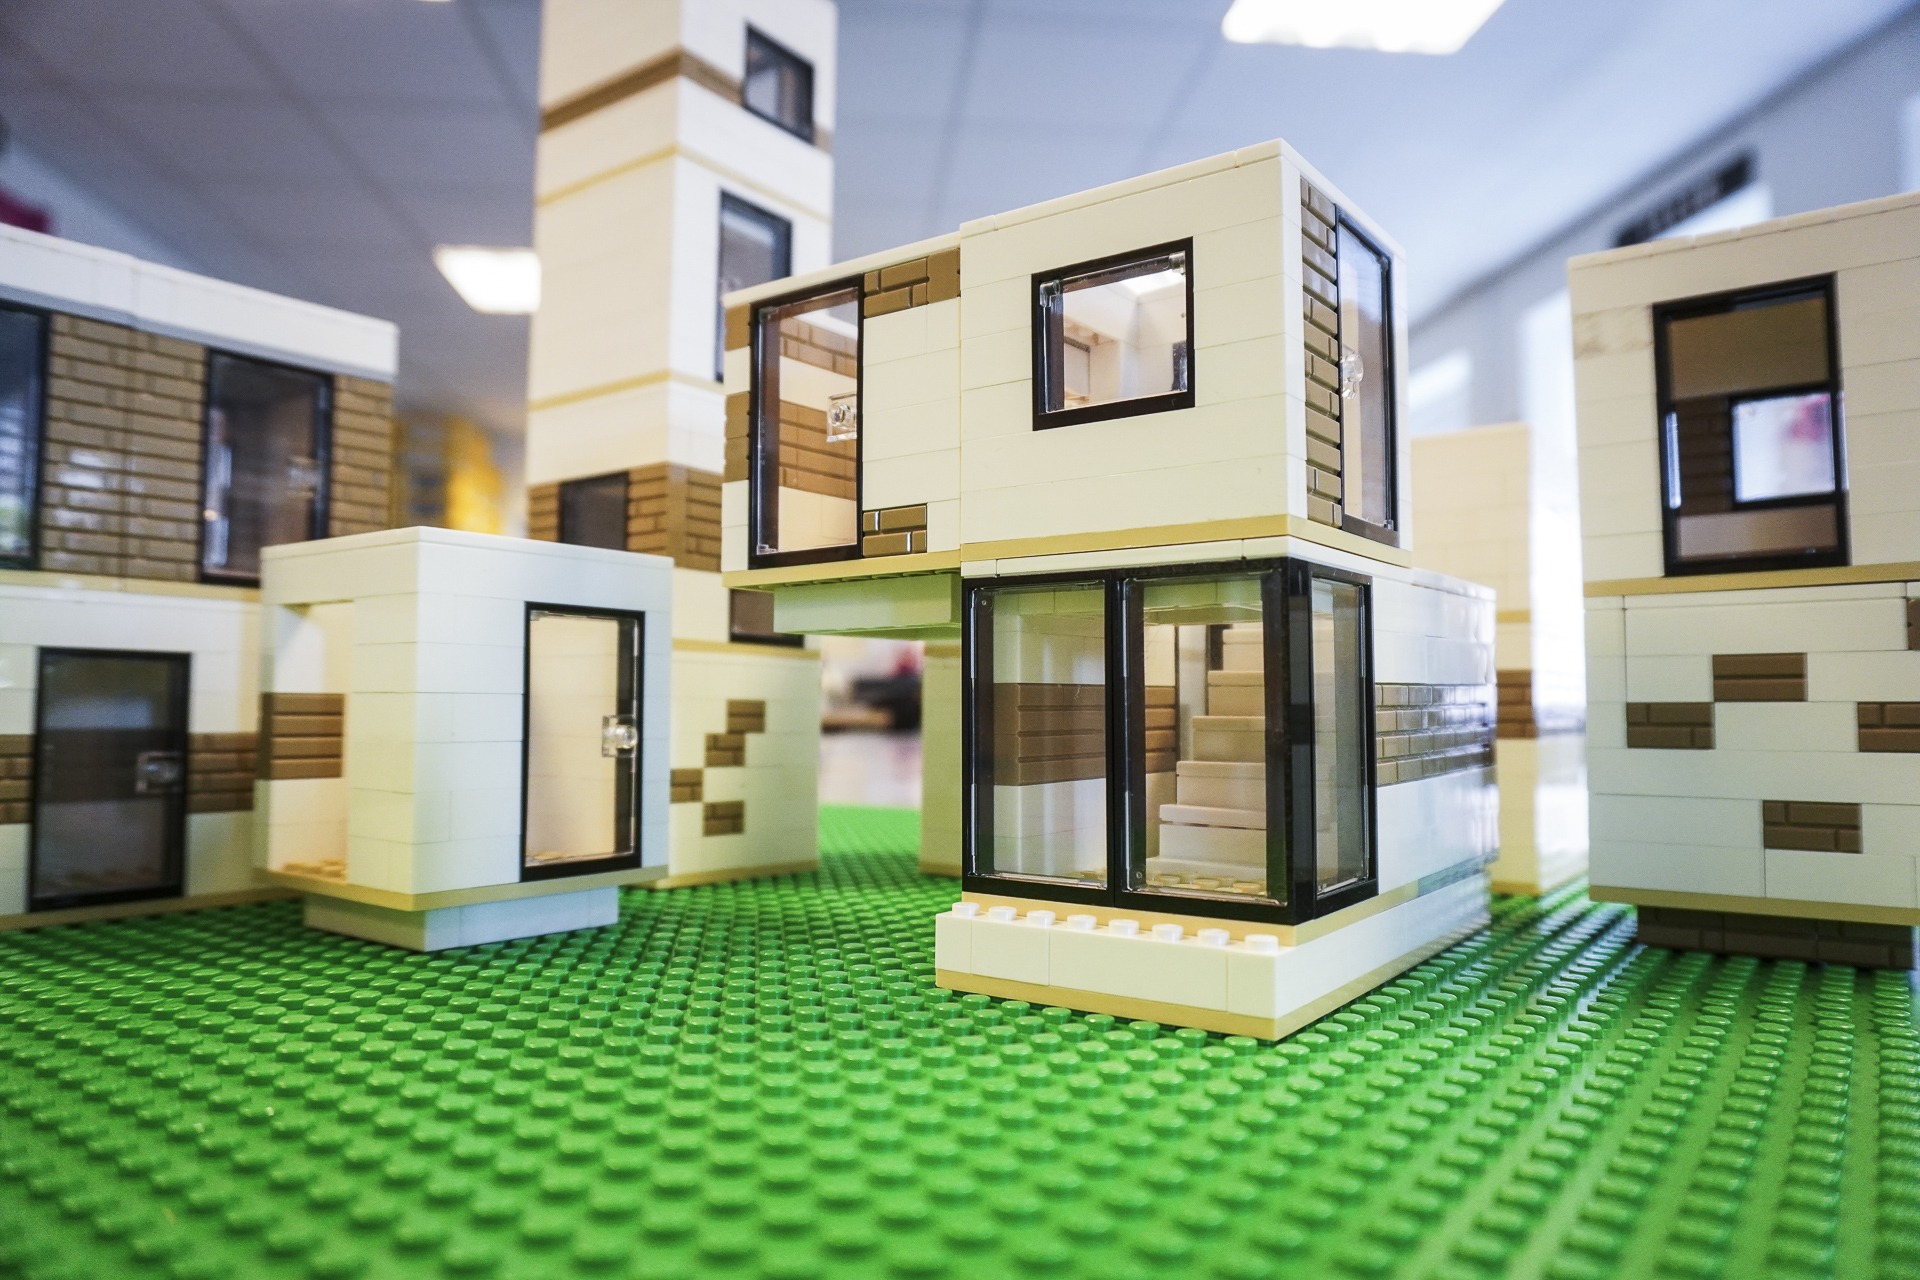
Learning and creativity by design
Sorted bricks, simple colors and inspiring challenges definitely set the focus on design when students use Lego. However, before even touching the bricks, taking time to draw up a sketch and plan a build are critical parts of the design process. Using Studio 2.0 , a 3D design program based on the LEGO System, students can create precise digital models of their LEGO creations, with unlimited access to all the parts and colors in the LEGO parts library. Furthermore, Studio 2.0 has an Instructions module that can produce accurate and fully customizeable instuctions that show how to build a model step by step, just like in a real LEGO set from the store.
At TekX, we want students to use LEGO as part of a learning process in which they focus on creativity, design, and problem solving. Design challenges are fantastic learning opportunities for students think critically and creatively. Presenting students with design challenges invites them to think deeply about a problem, and use their imagination and build something that could offer a solution. In order for students to understand the problem they are presented with, they must first gain background knowledge that puts the problem in context. Once they have a solid understanding the problem, they can begin to sketch their ideas, create a plan for their project, and use Studio 2.0 and LEGO to design and build the solutions they come up with.
Get started with Studio 2.0
Studio 2.0 opens a world of possibilities for digital design with LEGO. Students can quickly begin to build models, create instructions for their designs, and render photoreal images of their models. Below are some very useful tips for getting started quickly with building LEGO models in Studio 2.0. Look at the animated screen captures and keyboard/mouse images to see exactly how to use the shortcuts for navigation, selection and placement of pieces.
Navigation

Rotate view: Right click and drag
Click and drag with the right click button on the mouse to rotate the view of the model in the workspace.

Pan view: Shift + Right click and drag
Hold SHIFT while you right click and drag to pan from left to right or up and down in the workspace.
Zoom: Mouse wheel
Use the mouse wheel to zoom in and out of the workspace.
Brick placement

Click and drag to place bricks
Using the left click button, click and drag a piece from the palette into the workspace, and place it where desired.
Press SHIFT to release the piece.

Rotate bricks with arrow keys
Rotate the bricks left or right with the left/right arrow keys, or flip them vertically with the up/down arrow keys
Tips for building quickly in Studio 2.0
Duplicate bricks: Hold ALT and click & drag
Quickly duplicate a piece by holding ALT while clicking and dragging.

Select multiple pieces by holding CTRL
Select several pieces at once by holding CTRL and clicking them individually. They can be moved or duplicated simultaneously.

Select multiple pieces in the Step List
To create a selection in the step list, select the first piece you want, hold SHIFT and select the last piece you want, and all pieces between will also be selected . The entire selection can be moved or duplicated simultaneously. Pieces are listed in the order they were placed.
LEGO Home Lesson Plan for 10th Grade
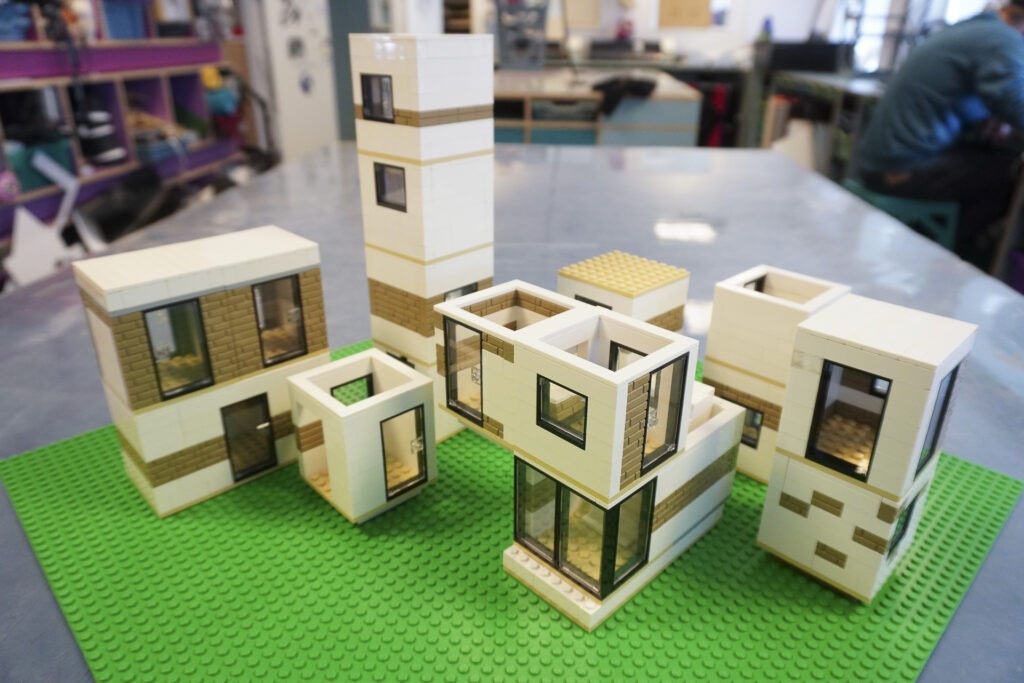
All 10th grade students in Rødovre follow a comprehensive lesson plan based on designing homes in Studio 2.0 and building their designs out with LEGO bricks. The lesson plan focuses on basic mathmatical concepts, such as area, perimeter, and scale. Students design and build LEGO houses, and then use their models as points of departure for making calculations.

